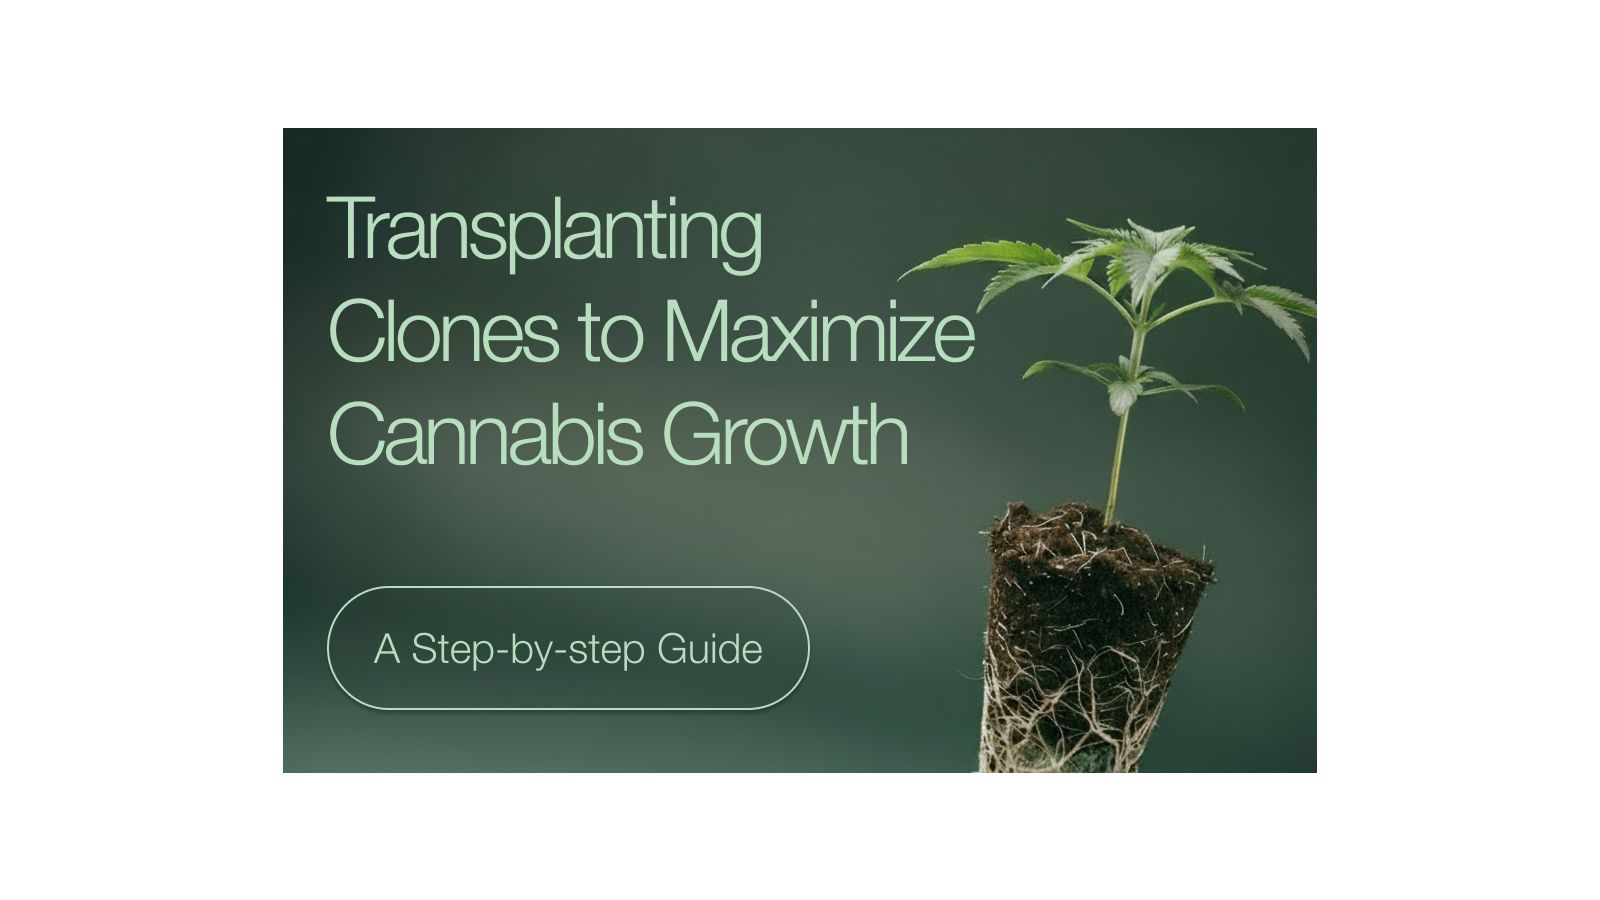
Transplanting Clones to Maximize Cannabis Growth: a Step-by-Step Guide
Transplanting a cannabis clone isn’t complicated, but it sets the stage for everything that follows. A careful, well-timed transplant helps roots establish quickly and plants grow strong. With Homegrown’s Premium Clones and a little know-how, you're already on the fast track to an amazing harvest.
This guide walks you through every step of the transplanting process so you know exactly what to do from the moment your clones arrive to the moment they settle into their new medium.
What Is a Cannabis Clone?
A cannabis clone is a cutting taken from a mature marijuana plant, typically during its vegetative stage. Instead of starting from a seedling, clones begin as a snip of living tissue (usually a branch tip) that’s encouraged to grow its own roots. Once rooted, these cuttings become independent weed plants, genetically identical to their mother.
When to Transplant Your Clones
Timing is everything when it comes to transplanting clones. You want to move your plants into their final container before they become rootbound, but not so early that the roots haven’t developed enough to hold the soil together.
Here are a few key signs that your clones are ready:
- Visible root growth: White roots should be protruding from the rockwool cube, plug, or growing medium. They should be strong enough to hold a shape when gently lifted.
- Established root ball: When lifted, the root mass should resemble a mini root ball, not just loose strands. This ensures it can handle the move with minimal stress.
- Healthy top growth: The clone should have new leaves and stand upright on its own. Yellowing or stunted growth may signal a problem.
- Drying out more quickly: If your clone in a solo cup or small starter tray is drying out within a day or two, that’s a sign roots are expanding, and it’s time for more space.
Waiting too long to transplant cannabis clones can lead to staling, nutrient deficiencies, or even root-bound issues that slow progress. On the flip side, transplanting clones too early can result in weak establishment and higher risk of shock.
To minimize transplant shock, most growers wait a few weeks after rooting before transplanting into a larger container. This gives roots time to anchor but avoids overcrowding. The goal is a smooth transition into the final container, where your clone can stretch out, feed properly, and continue toward healthy growth.
Homegrown Clones will arrive at this ideal stage - with a strong root system, healthy foliage, and ready for transplant—so you can skip the guesswork and focus on growing.
What You'll Need When Transplanting Clones
- Quality potting mix: look for cannabis-friendly soil with good drainage
- Pots or containers: start with 1–2 gallon for indoors; go bigger outdoors
- Watering can with clean water: pH 6.0–6.5 is ideal
- Rooting inoculant or mycorrhizal fungi: optional but beneficial
How to Transplant Cannabis Clones: Step-by-Step
Transplanting clones into a larger pot is a simple process, but it’s one that benefits from attention to detail. During the first few days, your clone is forming a connection to its new environment, so handling it gently and supporting its needs is key to reduce stress and encourage healthy root expansion.
- Prep Your Space
Choose a clean area with good airflow. Sterilize tools and containers if reused. Have everything on hand before starting to avoid delays during the process. - Fill Pots with Soil
Fill your containers with moist, well-aerated soil. Avoid using soil that is soaking wet, since too much moisture can suffocate the roots. Leave a small hole in the center of the soil to receive the clone. You can use a stick, the former pot or your fingers to dig and form the hole, just deep and wide enough to fit the root zone. - Hydrate the Clone
Lightly mist or water your clone before transplanting. This reduces transplant stress and helps the roots adapt to the new medium. - Place the Clone
Carefully place the clone directly in the hole, burying only the cube or root zone, making sure it's stable and upright. - Firm and Water
Backfill around the roots with soil and gently press to anchor the plant. Water lightly, but not excessively - just enough to settle the soil without washing it away. You don’t want the plant to sit in soil that holds all the water, especially during these early days. - Provide Soft Light
For the first 24–48 hours, give your clone indirect or low-intensity light to help it adjust. Avoid intense direct light right after transplanting to reduce stress.
Indoor vs. Outdoor Growing
Indoor and outdoor setups affect root development, airflow, and nutrient uptake differently. Adjusting your care to match the environment helps clones thrive wherever they’re planted.
Indoors:
- Use gentle LED lighting at first, gradually increasing intensity.
- Keep humidity around 65–75% and temps between 70–75°F.
Outdoors:
- Harden off your clones by gradually exposing them to direct sunlight over 5–7 days.
- Choose a transplant time with mild weather (not during heatwaves or cold snaps).
Post-Transplant Care
Once your clone is settled in its new soil, here’s how to help it thrive:
- Humidity: Keep levels around 65–75% for the first few days. This helps reduce water loss through leaves and supports early root development.
- Temperature: Maintain a steady 70–75°F and avoid sudden environmental changes that can stress the plant.
- Nutrient feeding: Hold off on adding nutrients immediately. Let your clone tap into the fresh nutrients in the new soil, and only start light feeding once you see new growth, like fresh leaves or stretching stems.
- Watering: Avoid overwatering. Allow the soil to dry slightly between waterings so roots actively grow through the medium, promoting a healthy, resilient plant.
- Light intensity: Start with moderate light and gradually increase as the plant settles. Monitor how your clone responds and adjust conditions to encourage strong structure and vibrant green leaves.
- Observation: Pay attention to your plant daily. Small adjustments to light, water, or humidity based on its response will ensure a healthy, thriving cannabis clone.
With each day of care, you’ll see stronger structure, greener leaves, and the signs of a happy, thriving cannabis plant.
The Advantage of Starting with Clones
Starting with cannabis clones gives growers a jumpstart compared to cannabis seedlings, letting you skip early germination and dive straight into healthy growth. With established roots and a vigorous structure, clones respond well to optimal humidity levels, steady oxygen, and favorable environmental conditions. This head start means less time digging around and more weeks focused on building a strong, productive crop.
Key Advantages of Cannabis Clones:
- Predictable Genetics: Growers know exactly what traits, potency, and growth patterns to expect.
- Time-Saving: Clones skip the seedling stage and move into vegetative growth faster.
- Consistent Quality: Each new plant maintains the characteristics of the parent or mother plant.
- Stronger Early Growth: Established roots and healthy stems help clones adjust quickly to their environment.
- Reduced Risk: No guessing on plant sex or phenotype, minimizing wasted space and effort.
- Streamlined Cannabis Cultivation: Ideal for multiple harvests or scaling up a grow efficiently.
Stay tuned for our clone drops, and get ready to grow with confidence, pride, and Homegrown support every step of the way.