How to Grow Cannabis Indoors with Kyle Kushman
Can someone please tell me how to grow cannabis indoors?
This is a popular request and the reason I filmed my Beginner’s Guide.
Using my series of super-fun videos, you’ll learn everything there is to know to start growing cannabis indoors.
And there’s a lot to cover.
You need to know what to buy and how to set it up.
You need to know how to germinate your seeds, how to feed and water your cannabis plants, how to harvest and how to cure your delicious, potent weed.
I’m going to take you through it all, step by step, until you can grow cannabis indoors with complete confidence.
Why should you grow cannabis indoors?
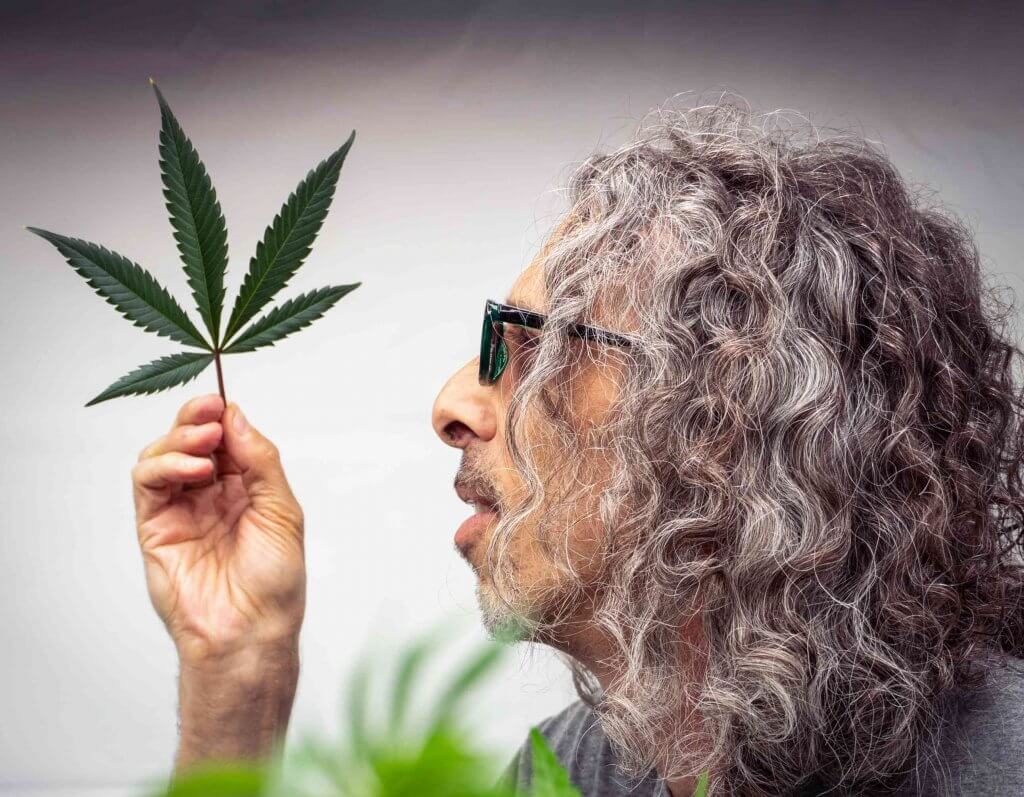
Why do you want to learn how to grow the best cannabis indoors? Is it the climate? The cost of weed? Do you need a year-round supply of medicine? Or do you just like growing things?
You’ll be surprised how many pensioners and retirees are getting into cannabis cultivation, and achieving huge success!
If your 80 year old neighbor can grow cannabis, so can you!
Here’s a few good reasons to grow your own. There’s obviously plenty more where these came from, but I suspect you’ve made up your mind already!
- Dispensaries are expensive! Whether you’re growing for recreational or medical use, homegrown cannabis saves you money, and lots of it.
- Gardening is fun and therapeutic. Hobbies are a great way to beat stress. And few hobbies are as rewarding as growing your own cannabis.
- You’ll know exactly what goes into your weed. When you grow your own, you control all that goes into your plants. You can grow organic or veganic, and you’ll really notice the difference. Nothing beats well-grown, well-cured homegrown weed.
Episode Zero: Introduction shows you why you should grow your own, and what to expect from the rest of the series.
Before you commit to learning how to grow cannabis indoors, check it’s legal first! There’s an entire section of the Grow Your Own blog dedicated to the legal side of things, check it!
Don’t assume the relaxation of cannabis prohibition applies to each and every state. It doesn’t.
Do not grow weed if it means breaking the law. Growing cannabis indoors or outside can still land you in jail!!!
California seems to have the most progressive laws on growing cannabis indoors, and it’s the subject of Episode One: Knowing the Law. I had lots of fun making this video!
Okay, so now you’re committed. You’re not going to break the law. You’re AMPED about learning how to grow weed indoors like a master.
Here’s what you do.
Growing cannabis indoors: buying your stuff
What do you need to grow cannabis indoors?
This depends!
You might have a tiny, closet space with barely enough room for a seed tray, or you might have a huge garage with space for a 9 x 9 grow tent setup.
Episode Two: Buying Your Stuff covers a fun trip I made to 55 Hydro in Santa Ana. This will be you soon - shopping for your stuff!
Whatever you invest now, you’ll see incredible savings after one or two harvests.
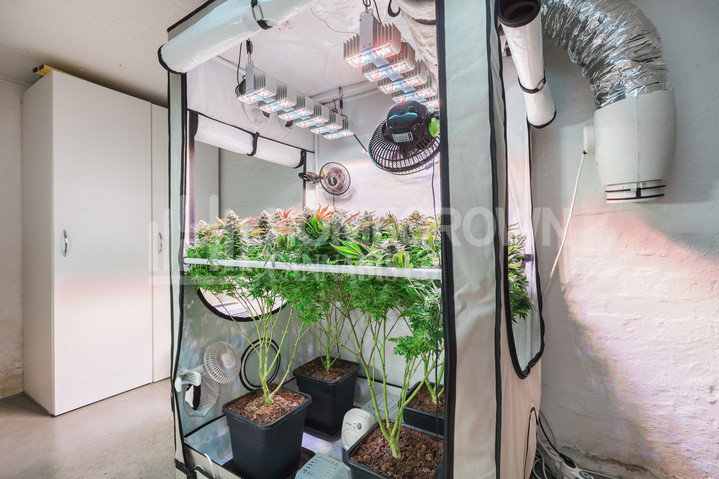
The most important things for me are the tent, lights and environmental controls.
Like I said, there are a few major purchases you need to get right, and for me, this starts with the tent.
Grow tent
Knowing how to grow weed indoors usually means knowing your way around a tent.
Sure, you might have plenty of space in the garage, you might even have an entire room to dedicate to indoor cultivation, but nothing beats a tent!
Your tent is a sealed environment, where you can better control things like bugs, temp, humidity and C02.
It will be lined with reflective material for better light penetration, and will usually have sealable access holes for ducting and power cables.
To create these kinds of growing conditions without a tent is a BIG ask. It will end up costing far more than the tent and you won’t get the same quality of space.
Before you get your cash out, ask yourself the following questions:
- How much (safe) space do I have?
- Do I have enough power outlets nearby?
- How many plants do I want to grow?
- What’s my budget?
Once you’ve answered these questions, you’ll have a pretty good idea of which tent to invest in.
And yes, it's an INVESTMENT.
Look after your tent and it will be with you for years, decades even.
Grow after grow after grow.
Lights
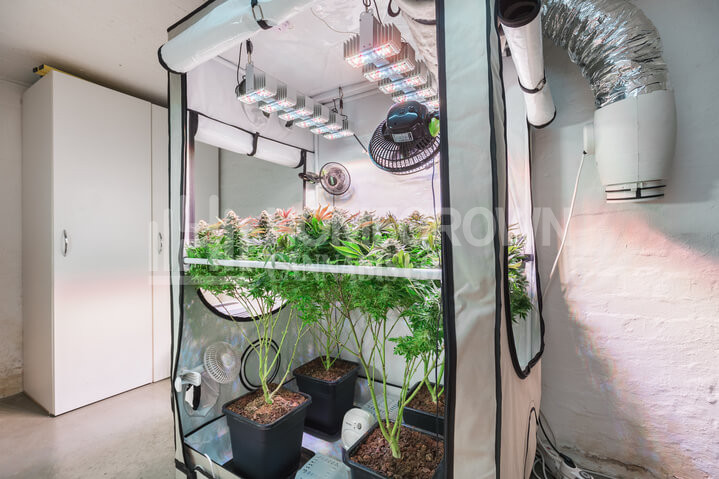
Once you have your tent, you need to buy your lights.
And not just any old lights.
You need enough power to replace the sun!
Okay, that sounds like a lot, but modern lighting rigs can deliver huge amounts of power, and today’s LEDs don’t produce the waste heat of traditional lights.
There’s a fair amount of choice when it comes to your cannabis grow lights, but it will probably all boil down to budget.
My advice? Get the best LEDs you can afford. But if you can’t afford at least 400W LEDs, go for an MH/HPS set up.
Confused?
Don’t worry, Episode Three: Choosing Your Lights sheds a lot of, ahem, light on the subject!
Just as I’m about to do right here.
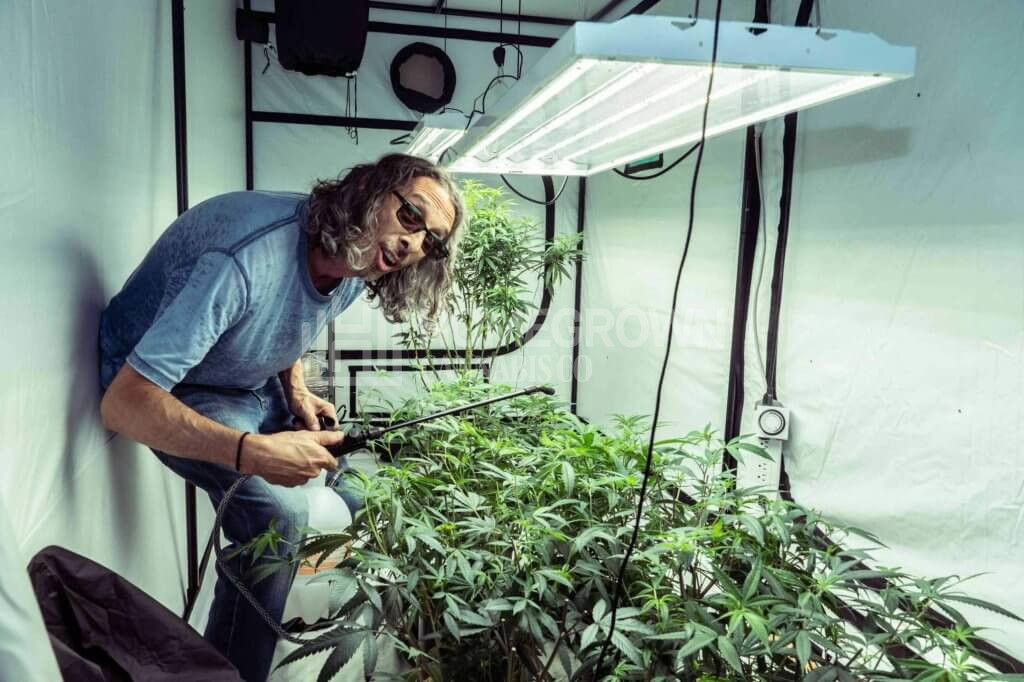
Fluorescent lights
Fluorescents are known for being cheap and convenient, and you can buy them pretty much anywhere. They come in two main varieties:
- CFL — you’ll find these in any bulb-selling shop. They’re great for small spaces and provide a decent light spectrum.
- T5 — these lights are spread out over a large panel, ideal for multiple cannabis plants.
Fluorescent bulbs used to be popular but are rarely used anymore. Good LEDs are even more efficient, run cooler and last far longer than even the best fluorescent.
HID lights
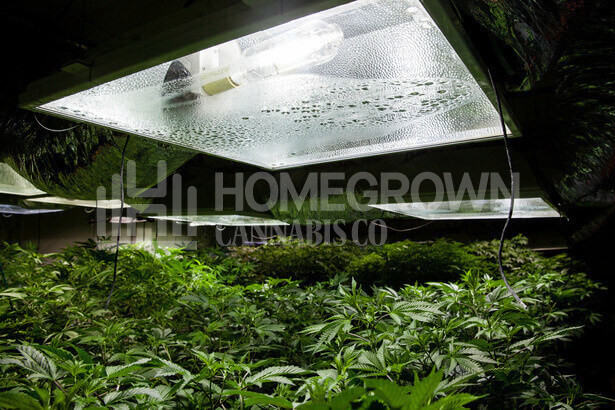
High-intensity discharge (HID) lamps are far more powerful than fluorescents. They’re extremely popular with marijuana growers, but are expensive to run and produce a lot of excess heat.
HIDs are generally split into Metal Halides (MH) and High Pressure Sodiums (HPS).
You’ll need to buy a ballast and, in most cases, additional cooling to run these indoor lights.
But they’re extremely powerful, delivering all the wattage you need for the vegging and flowering stages.
As they emit a slightly different light spectrum, MH lamps are perfect for vegging while HPS are ideal for flowering.
With your modern kit, you’ll only need to worry about swapping out the bulb when you flip into flower.
When I started out, it was a lot more complicated!
LED lights
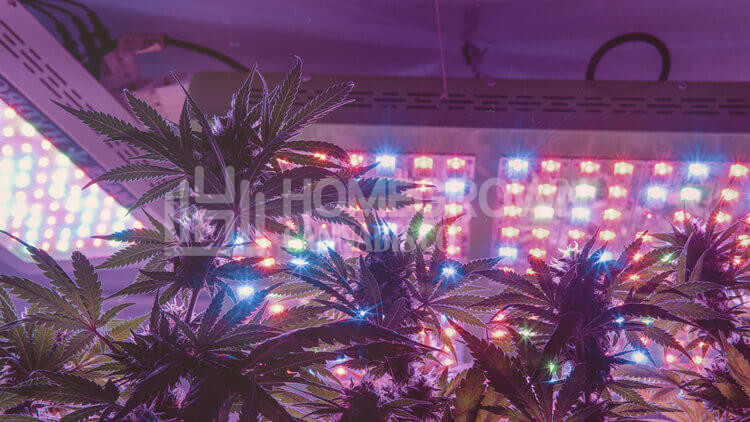
LEDs (light-emitting diodes) are a relatively new technology, but they’re already massively popular.
And with good reason.
The lamps run far cooler than HIDs, with a light spectrum you can adjust with a flick of a switch.
Many people ask me how to use cheap bulb LED lights to grow cannabis indoors.
A tricky question!
The problem with LEDs is the sheer range of choice.
With HIDs, picking the right stuff is easy, especially if you ask in your local hydro store.
With LEDs, there are thousands of different brands, many of which simply aren’t up to the task.
It’s vital you do your homework. If an LED seems too good to be true (1000W for $30, for instance) then it probably is.
Humidifier and dehumidifier
Why do you need a humidifier AND a dehumidifier? To replicate the natural conditions of the plant.
During the day, the sun shines and water evaporates. At night, the temperature drops and moisture condenses.
When you mimic this in your tent, your plants get to follow the natural rhythm of their native habitat, i.e outdoors.
You also get to control the day and night time humidity with incredible accuracy, something you can’t do with an outdoor grow.
Soil, nutrients, and containers
I would always recommend growing in soil, especially if you’re just starting out.
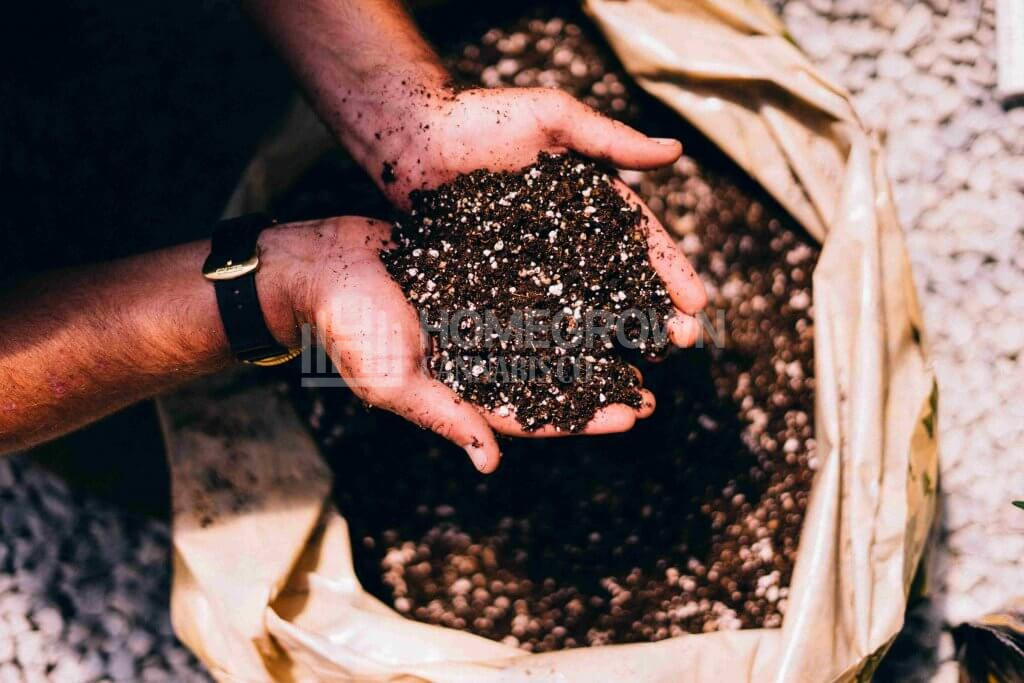
Your options are amended or unamended.
Amended soil has added nutes, some people call it ‘hot’ soil.
It will only need additional water, at least for the first few weeks.
Next option is unamended, my preferred choice.
When you add your own nutrients, you’re in total control.
You can react and adjust to problems and you retain the option to feed organic or veganic nutes.
Naturally, I would ALWAYS recommend going veganic - especially if you want to avoid the heavy metals present in organic and chemical fertilizers.
If you’re keen to learn how to grow organic cannabis indoors, go one better, go veganic!
As for pot size, well, you can start your plants in red solo cups and work your way up from there.
The bigger the pot, the bigger the plant!
Carbon dioxide
CO2 tanks for cannabis and organic alternatives boost photosynthesis for a lush, green garden.
You can supplement the CO2 by singing to your plants in the tent, seriously.
We pump out a lot of CO2 while singing, and the vibrations help stimulate plant development, too.
If you don’t believe me, try it!
Fans
From cheap table-top fans to purpose-built, integrated air-con, your choice is vast.
First off, why do you need a fan?
A well-positioned fan will mimic a natural breeze, encouraging stronger limbs and branches.
It will also help cool the air and increase airflow around the cannabis leaves and stems - a great way to discourage mold and mildew.
Pro tip: turn upper canopy fans off at night. Fans produce humidity so why fight the dehumidifier? This will also give the plants a resting period from swaying.
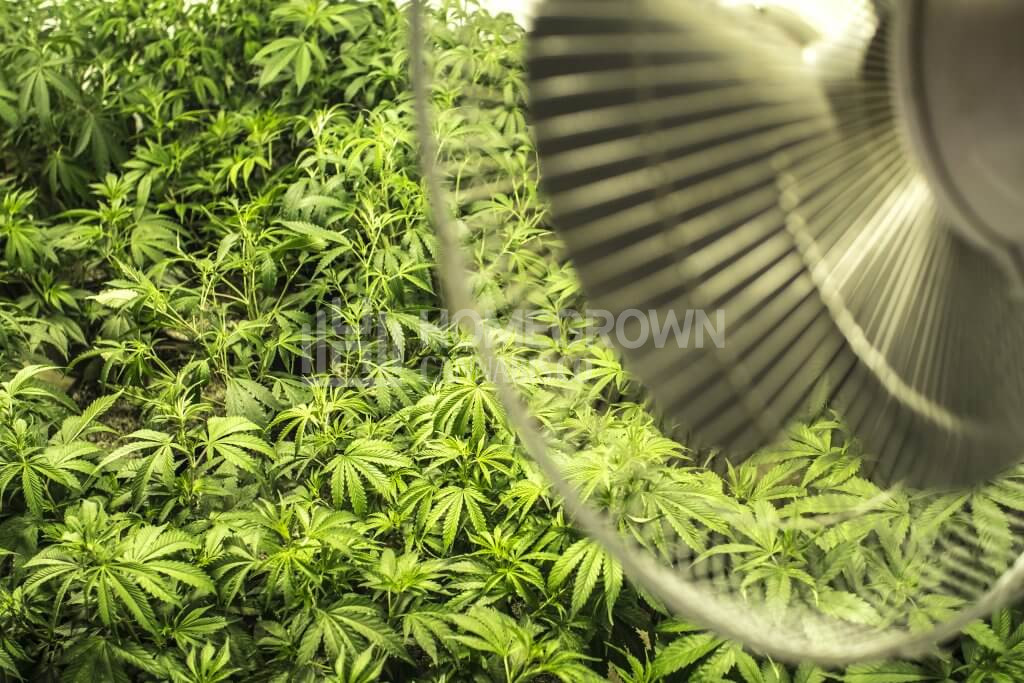
The perfect way to set them up is to have one fan aimed at the top of the plants, at the hot zone between the tips and the lights, with a second pointed under the canopy in the opposite direction.
This will circulate the air nicely around the tent, but don’t blast them with a hurricane.
A gentle breeze is all you’ll need.
Building your indoor marijuana grow room
The next step in nailing how to grow cannabis indoors is putting your equipment together.
Where does all your equipment go?
In Episode Four: Building Your Grow, Nate Hammer and I put together a basic grow in a garage.
We had a lot of fun with this build - putting up the tent is definitely better with a helping hand or two!
As I make clear in the video, you need to clean and disinfect the space before, during and after your grow.
Cleanliness is super-important!
Get rid of rubbish, dust, stains, and anything that might encourage cannabis pests and bugs.
Electricity
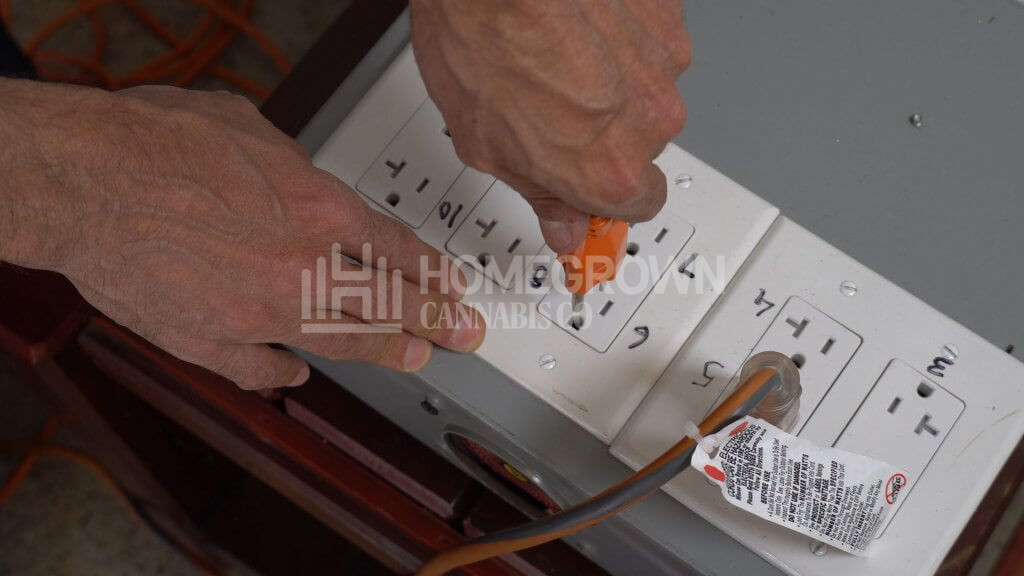
Your pre-installed outlets might deliver enough power for all your equipment, if not, you’ll need an additional sub-panel.
Never overload one outlet. Don't play with electricity. Never do anything without professional advice.
Overloaded power outlets can and have caused major fires. You can’t learn how to grow cannabis indoors if you no longer have an indoors! Be sensible.
Grow tent
Once your area is nice and clean, it’s time to set up the tent.
Lay out the poles and shell neatly and then check YouTube for instructions specific to your make and model.
And get some friends around to help!
Lights
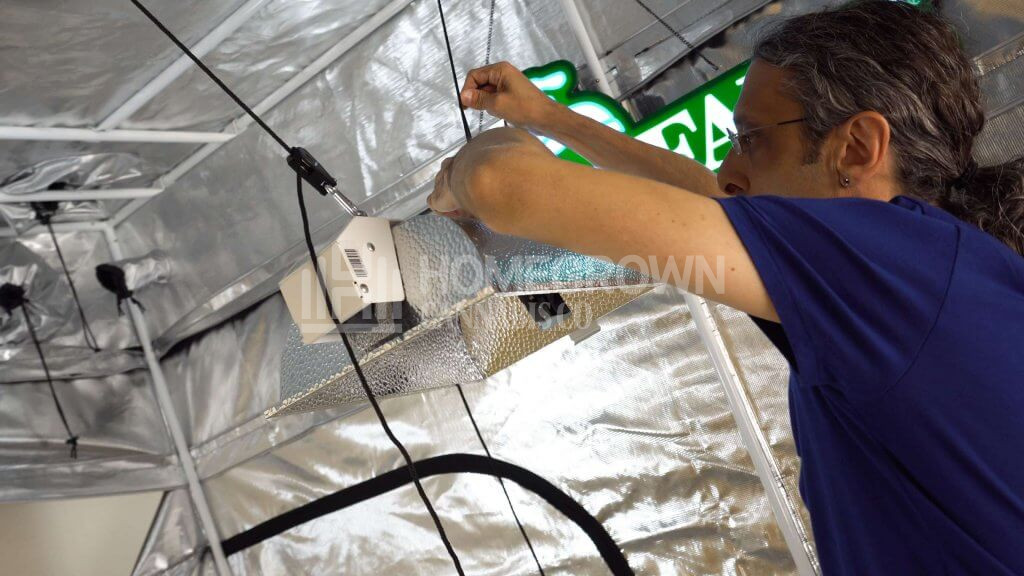
Hanging your lights is much easier with adjustable ratchet straps.
They’re easy to use and you can raise or lower them according to your plant’s needs.
It’s easier to move the lights up and down rather than a heavy plant pot!
Humidifier and dehumidifier
If you can afford it, get a single unit that does both.
The best place for these units is flush against the wall, close to one of the sealable exhaust ports (holes in the tent for ducting).
For most grows, box-standard units will do, but learning to grow autos, for example, isn’t the same as learning how to grow tropical cannabis sativas indoors.
You’ll want to spend extra to more accurately replicate the equatorial conditions of the sativa’s natural habitat.
Timers / Automation
The only excuse for not buying a timer is if you’re learning how to grow autoflowering cannabis seeds indoors. AND you’ve decided to give them 24 hours of continuous light throughout their entire life cycle.
But I would still buy a timer!
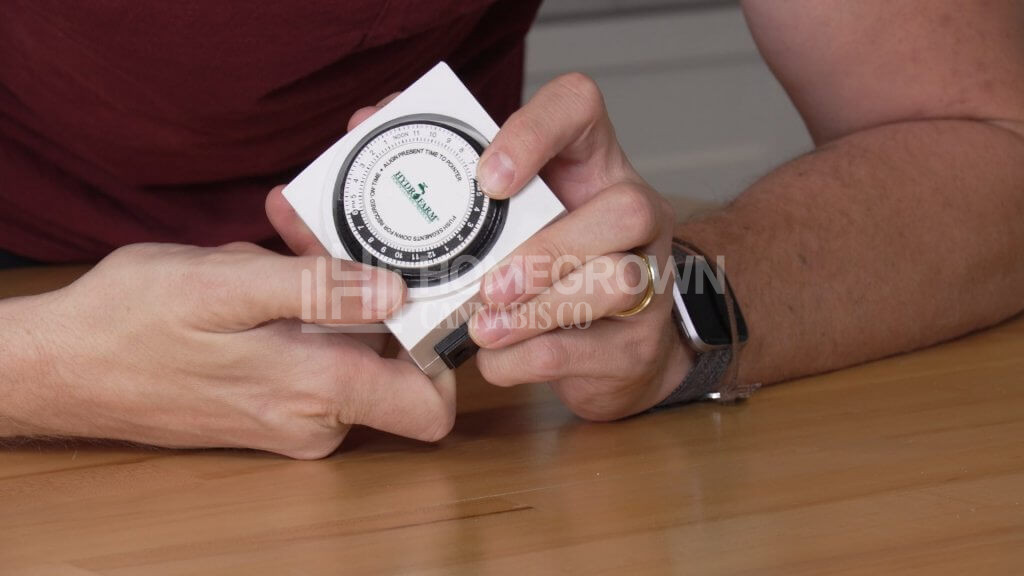
Most cannabis plants rely on a photoperiod, set hours of light, to tell them how to grow and develop.
Your timer will make sure your lights are switched on and off, according to the schedule you set.
Simple, easy, essential.
Choosing your seeds
The next major purchase is, of course, your cannabis seeds.
How do you choose?
Your first port of call should be Episode Five: Choosing Your Seeds - no prizes for guessing what that video is about!
Okay, what types of seed do you have to choose from?
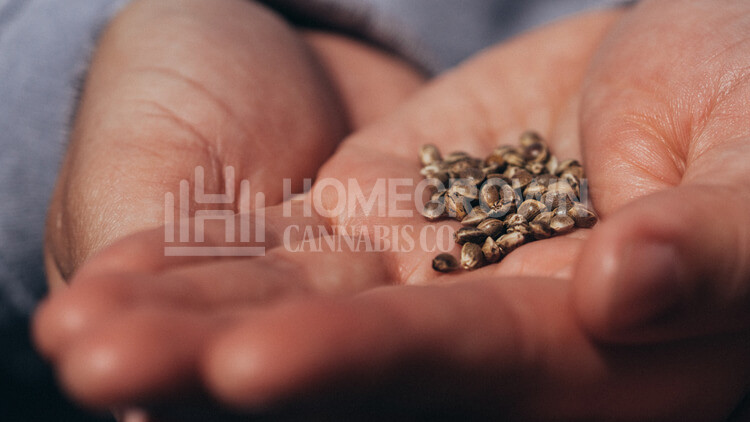
Cannabis seeds are divided into four main categories: feminized, regular.
Feminized
Most newbies eager to learn how to grow cannabis indoors should choose feminized, non-auto seeds.
Why? Well, autos are quick, convenient and super-easy to grow, but photoperiod plants are far more rewarding.
You’ll need to learn about light cycles, the veg and flower periods, and about supporting larger plants.
You’ll (mostly) get bigger yields, too!
Your feminized cannabis seeds are easier than regs, in that they will (99% of the time) produce female-only plants.
This means you don’t have to watch out for and remove male plants from your grow.
If you miss a male, it could pollinate (and ruin) your entire crop!

Regular
Regular cannabis seeds are favored by traditional growers, like Swami Chaitanya and Nikki Lastreto - Homegrown’s outdoor experts. They’re essential for growers wishing to breed.
Regular seeds produce a roughly 50-50 split between male and female plants, so you’ll need to learn to spot and remove males before their pollen sacs burst.
Fast Version
Homegrown’s Fast Versions are cutting-edge cultivars that grow super-quick without being autoflowering.
How?
The breeders at Homegrown add a little ruderalis to the genetic make-up, just enough to shorten flowering times to 6-8 weeks.
This results in a fast plant with the same big yields, grown with a photoperiod light cycle.
Many claim they’re easier to grow, but you need to be careful. Short flowering periods mean less time to recover from mistakes.
One thing’s for sure, you’ll save money! You’ll spend less on nutes, water, power, everything.
And you can clean down and start your next cycle as soon as the plants are hanging - you’re looking at 2-3 harvests per year!
Autoflowers
As I said above, learning how to grow autoflowering cannabis indoors is a simpler proposition than with photoperiod regs and fems.
Autos are smaller, quicker and simpler than their photoperiod cousins, though the yields are often smaller.
What sets autos apart is the light cycle - you don’t need to flip to 12/12 to trigger flowering, they do it automatically after a couple of weeks in veg.
You can give them 24 hours of continuous light from start to finish, though many growers recommend a few daily hours of darkness, to give them a rest.
Like the Fast Versions, the quick cycle means multiple yearly harvests, though you can achieve 3 or 4 per year with autos!
What are the different species of cannabis seeds?
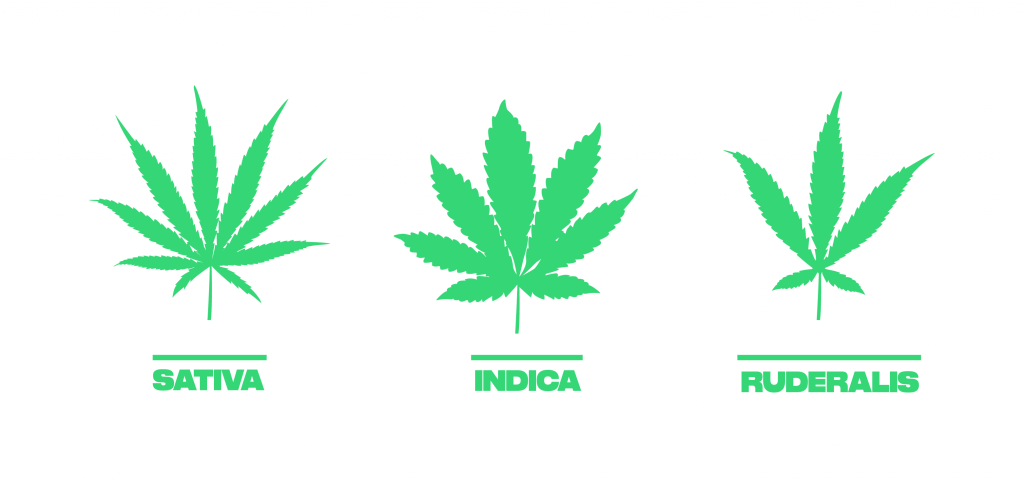
Botanists have identified three main subspecies of cannabis: indica, sativa and ruderalis.
It’s useful to know the traits of each, though most modern cultivars are hybrids, with their own, unique set of qualities.
Sativa
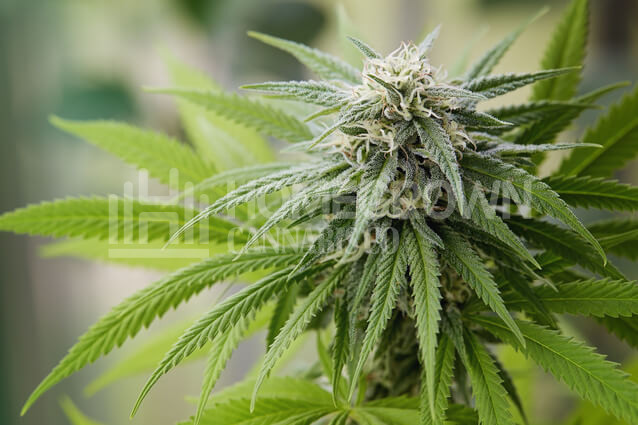
Sativas are typically tall and thin, with long flowering times and heavier yields.
Learning how to grow sativa cannabis indoors is mainly about getting the heat and humidity correct, and being able to plan for the height and stretch of the plant.
Indica
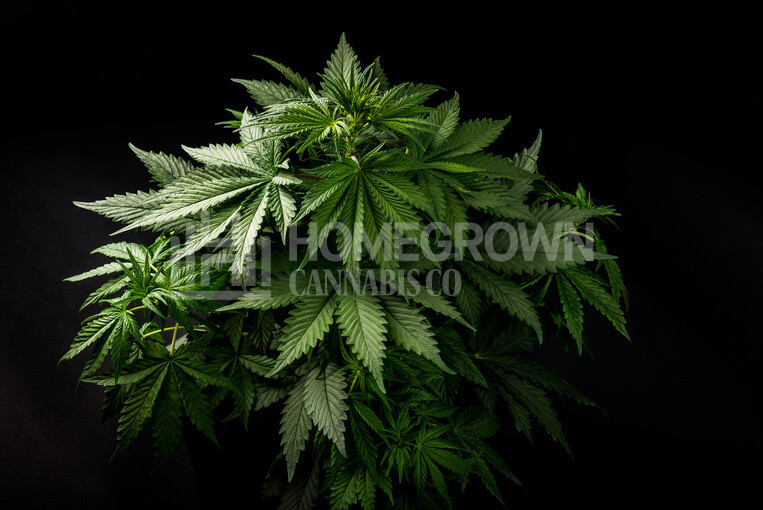
Indicas tend to be easier to grow, being shorter, more compact, and more resistant to disease.
They require more thinning out than your average sativa, but are generally more forgiving of newbie mistakes.
Ruderalis
You’re extremely unlikely to ever come across a pure ruderalis, unless you’re a professional breeder working for Homegrown!
These small, autoflowering plants are mainly used for complex breeding programs, leading to amazing strains like Critical Auto, Wedding Cake Auto and Big Bud Fast Version.
Hybrid
Most plants nowadays are hybrids, with varying amounts of sativa, indica and/or ruderalis. No two hybrids exhibit identical characteristics, and they have unique environmental requirements.
What else do you need to consider?
As you learn how to buy marijuana seeds and explore Homegrown’s huge range of strains, you’ll discover there are different seeds for different needs.
Learning how to grow medical-grade cannabis indoors will usually mean a high-CBD/low-THC seed. Though this does ignore the fact that THC is medicinal, too.
You can also choose cannabis seeds depending on potential yield, flowering time, flavor, aroma, looks, stretch - the list isn’t endless, but it’s long!
The best thing about starting out is that all of the different cultivars will be brand new to YOU.
You’re about to learn what you love, what you can do without, and what sort of cultivars are perfect for your exact needs. Exciting!
Germinating your seeds
It’s germination time! A time that can fill newbie growers with dread, but there’s absolutely no need to worry.
First, Homegrown provide a detailed yet easy to follow germination guide, and a germination guarantee!
The guarantee doesn’t mean your seeds will definitely ALL germinate. They’re a natural product, not toys made in a factory.
The guarantee gives you peace of mind that if your seeds don’t germinate, they’ll be replaced - subject to conditions.
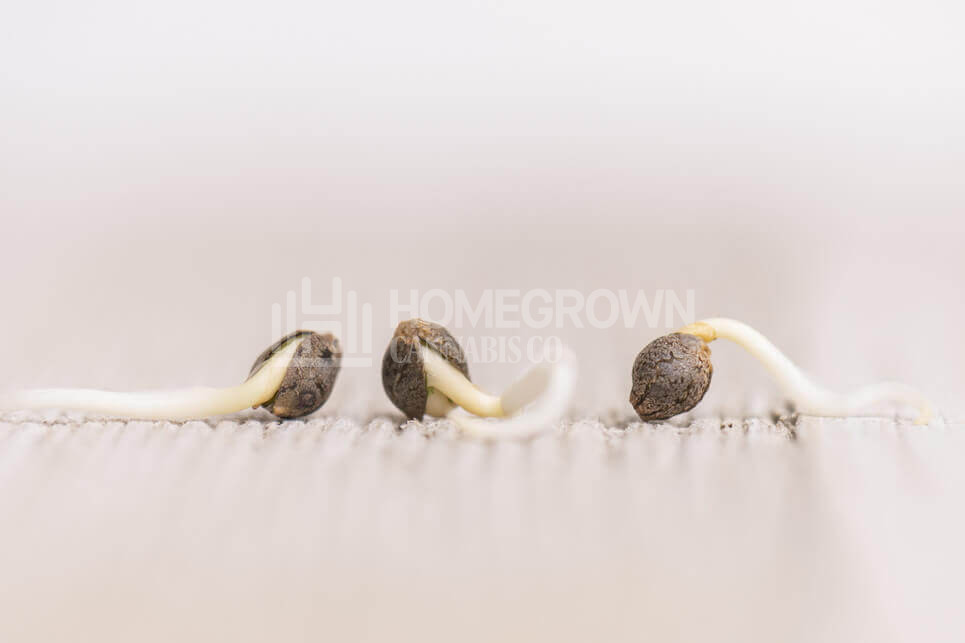
Second, Episode Six: How To Germinate Cannabis Seeds outlines the paper towel method, which is the most popular germination strategy.
Planting your seeds
Once your seeds have popped that glorious taproot, it’s time to get them planted!
And what better way to learn than watching Episode Seven: Planting Your Seeds?
This episode shows how to create a terrarium from a red solo cup, some plastic food wrap and an elastic band - easy!
It's almost as easy as these bullets:
- Pierce small holes in the bottom of the cup for drainage.
- Fill it with loose soil, being sure not to pack it.
- Give it a light watering: it wants to be moist, not soaked.
- Make a tiny hole with your finger, about the same dimensions as your fingertip.
- Place the germinated seed into the hole, taproot down.
- Cover the shell with a little loose soil.
- Wrap the cup with plastic and pierce ventilation holes.
- Place the mini terrariums under a domestic or fluorescent light. They only need to be warm at this stage.
Your seedlings will soon break through the soil, spreading their little green sails.
Congratulations, it’s a girl!
Feeding & watering indoor cannabis plants
I have two main tips when it comes to feeding and watering your indoor cannabis plants.
Number one is to do with feeding - always follow the feeding schedule supplied with your nutes.
Number two is about watering weed - always cycle wet to dry.
I take a deeper dive into this topic in Episode Eight: Feeding and Watering Your Plants, so don’t worry if this seems a little too general!
Another HUGE thing to remember is this: adding nutes will affect the pH of your soil. Make sure you check inputs and run-offs regularly.
If you’ve taken my advice and planted into soil, your optimum pH is 6.5, so make sure your inputs and run-off are between 6.2 and 6.7 on the chart.
If the pH is out, your plants won’t be able to uptake nutrients, like trying to drink a soda through a collapsed straw!
PPM is also critical.
This is the measure of dissolved solids (parts per million) in your nute solution and run-off.
Optimum levels vary as the plant grows, but if you need to decrease PPM then alternate a few plain waterings.
If you need to increase PPM, move up a notch on your feeding chart.
Transplanting your plants
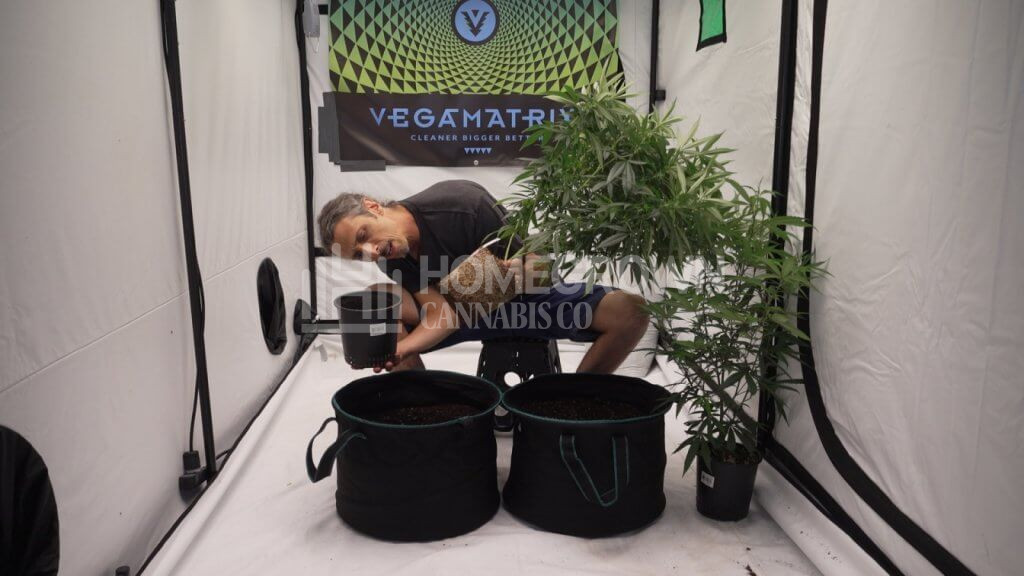
You won’t learn how to grow weed indoors without learning how to transplant cannabis.
Your plants start small and get bigger, all being well!
As they outgrow their pots, you’ll need to move them to larger homes.
Why not just start them in a huge, final pot? Well, this is possible, though I don’t advise it.
It will make it more difficult to learn how to cycle wet to dry; you’ll spend more money on waterings the plant doesn’t need.
Don’t worry, I explain everything in more detail in Episode Nine: Transplanting Your Plants. This video also points out that autos need a slightly different approach than photoperiods, and can go straight into their final homes.
Super cropping your plants
You’re going to love Episode Ten: Super Cropping Your Plants.
The techniques in this video will help you improve yields and grow more efficient plants.
This is true whether you’re learning how to grow one cannabis plant indoors or twenty.
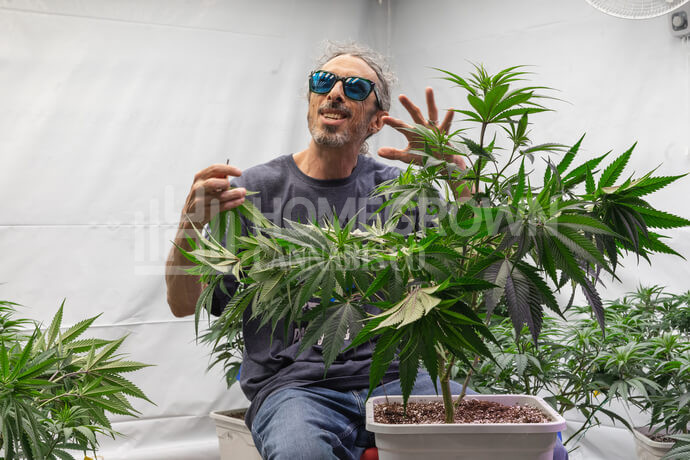
The combination of techniques known as super cropping includes:
- Selective leaf pruning: removing shade leaves to improve light penetration.
- Topping and training: snipping the top and tying-off branches to manipulate growth.
- Snapping and twisting: breaking branches so they heal stronger.
- Branch and node pruning: keep only the branches and nodes the plant really needs.
Leaf, node and branch pruning are the easiest skills to learn, then topping and training, then snapping and twisting. Go easy, get lots of practice, and don’t be afraid to make mistakes. We all do!
Flipping your plants
Learning how to grow cannabis indoors successfully means knowing when to switch from veg to flower.
I take a good look at this in Episode 11: Flipping Your Plants.
Anyways, there are some key takeaways I will dip into here.
Think about the space in your tent.
Your plant could potentially double or triple in size (stretch) once flipped, so make sure you have the room!
Think about yield.
While you don’t want the plant to outgrow the tent, you also want as much yield as possible.
Size it all to the space you have.
But what is flipping, anyway?
Basically, you’ll be vegging your plants under 18 - 20 hours of continuous light.
To flip them, you’ll adjust to 12/12.
12 hours of continuous light, 12 of continuous dark.
This mimics the outdoor season - the days get shorter in Fall and your plants will respond by flipping their attention to flower production.
By manipulating the light cycle, you’re not exactly playing God, but you’re doing a great impression of Mother Nature!
Ripening your plants
Now your plants should be fully into flower, forming giant, glistening colas.
Your tent will absolutely STINK and you’ll be itching to sink your teeth into the flowers.
How will you know when it’s all ready to be harvested?
How will you know when your plants are RIPE?
The first thing you need to do is go back to the date you flipped, and mark the flowering time on a calendar.
If you’re growing my Cherry AK, for example (wise choice), you’ll want to add 8 - 10 weeks depending on bud size.
This is because she has a 8 - 10 week flowering time. So when 8 weeks are up, she should be almost ready to dry.
But how do you know for sure?
Well, the white pistils, those fine white hairs around the buds, they’ll start turning amber or red. A good sign you’re almost there.
Next you need to mic the trichs.
Take a magnifying glass or jeweler’s loupe, and take a close look at the trichomes.
Up to now, they’ll be clear like crystals, but as the plant nears full maturity, they’ll turn opaque, then amber or brown.
When 5 - 10% of the trichomes have darkened, it’s time to harvest!
As I explain in Episode 12: Ripening Your Plants, it’s important to mike the trikes close to the center of the plant.
Trichomes on the exterior buds can be ‘browned’ when you rub past in your clothes.
Harvesting your plants
Watching your Homegrown seeds germinate is exciting, but nothing beats cutting your plants down to harvest.
This really gets my mouth watering!
Knowing how to grow weed indoors IS knowing how and when to harvest cannabis - you don’t want to mess it up at this stage!
I show you what you need to do in Episode 13: Harvesting Your Plants.
Don’t forget these steps:
- Remove water leaves from the branches and the main stem.
- Stop spraying to avoid moldy buds.
- Flush to remove excess nutes.
- Stop watering a day or two before cutting.
- Prepare your drying room—somewhere dark, cool, and moderately humid.
- Cut down the whole marijuana plant (you can go branch-by-branch for super-massive cultivars).
Here’s an important tip I learned from Nikki and Swami - harvest during the night cycle, about an hour or two before the lights are due to come back on.
This is when the terpene content should be at maximum, meaning more potency, more flavor and a better quality bud.
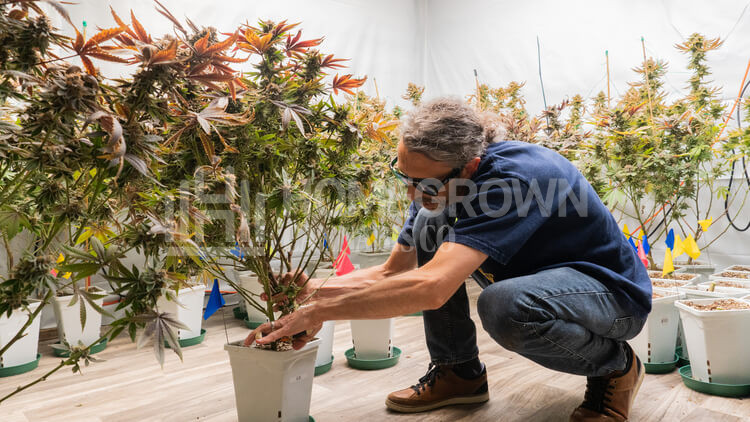
Drying and curing your cannabis buds
Okay, so you’ve cut down your trees and you wanna hang ‘em up, what’s next?
Prepare the drying room.
I like to use my tent - it’s easy. Use the same ratchet straps you used for the lights as a hanging line, keep it dark, set your humidity and light airflow and you’re good to go.
Here’s a tip. Make sure you dry the plants passively. A dehumidifier should suck moisture from the air, not from the plants.
Same for a fan: use it for airflow, not to blow-dry your nugs! There’s a lot more info in Episode 14 where you’ll learn both how to dry and how to cure.
An informed grower is a successful grower
Once you know how to grow a single cannabis plant indoors, you can, in theory at least, grow a huge indoor garden with rows and rows of plants.
That said, I would never advise growing single plants.
It makes no sense from a financial perspective, and what if you make a huge mistake? That’s your entire crop ruined!
If you have room for six plants, buy an 8 pack from Homegrown.
If all 6 germinate you’ll have 2 spare for the store cupboard.
I hope this how-to-grow cannabis indoors beginners guide will help you on your first steps. Be sure to use it WITH the videos for full effect, and fill in any gaps by visiting my blog page at the Homegrown Cannabis Co.
FAQs about growing cannabis indoors
There’s a lot more to learning how to grow cannabis indoors than I could possibly include in this guide, so let’s try to flesh it out with some indoor growing FAQs.
How to grow cannabis indoors discreetly?
Even if you live in a legal state, learning how to grow cannabis discreetly can help keep neighbors and housemates on-side. Your best bet for smell is a carbon filter. The best bet for space is a small, closet grow with a bunch of productive autos. Your best bet for delivery is a discreet package from the Homegrown Cannabis Co.
How long does it take to grow cannabis indoors?
Fast Versions and Autos can complete their entire cycle in three months. This varies, so don’t take these numbers as gospel, but most photoperiods will need 4 - 6 weeks in veg from seed, plus flowering… you’re looking at around 90 days. You can shorten this with a shorter period in veg, or by choosing autos or Fast Versions. If you want a longer answer, check out Nate Hammer’s article, ‘How long does it take to grow cannabis?’.
How difficult is it to grow cannabis indoors?
There are easy ways to grow weed indoors, and there are trickier ways. Using a full hydro setup is more difficult than soil, for example, and growing a huge sativa will be more challenging than a small litter of autos. One thing’s for sure - the more you read up, the more videos you watch and PotCasts you stream, the better equipped you will be to master your craft. My biggest tip: you never stop learning how to grow cannabis indoors. Like a plant, we’re all just at different stages of development.
Stay in the loop by subscribing to our mailing list!
About the Author: Kyle Kushman
Kyle Kushman is a legend in the cannabis community. He is the modern-day polymath of pot: cultivator, breeder, activist, writer, and educator. After winning no less than 13 Cannabis Cups, there’s nothing this guy doesn’t know about indoor growing - he’s been there, done it, and is still doing it to this day!
