A Complete Guide to the Cannabis Flowering Stage | Week by Week
Have you ever wondered how a cannabis plant grows from a seed to an impressive bush that gives us the awesome, potent buds that we all know and love? It all starts from a teeny seed that becomes a seedling, flourishing into the bushy, vegetative state before producing the beautiful flowers that are the life force of the weed industry.
Whether you’re growing indoors or outdoors, a beginner or a seasoned grower, cultivating cannabis can be fascinating but it can also be challenging. Don’t worry, we’ve all been there! From keeping your growing environment ideal to keeping the pesky bugs away and optimizing your harvest yield, we’ve been through it all.
In this blog post, we’ll look at the basics of the cannabis flowering stage, which can last 6 to 8 weeks for indicas and 10 to 14 weeks for sativas. From a little seed to a bushy, magnificent plant, understanding the growth stages is the essence of cannabis cultivation and crucial to growing some potent, heavenly buds!
Key Takeaways on Flowering Cannabis
- Based on the amount of daylight, a cannabis plant spends about four weeks or more in a vegetative stage, which is in between germination and flowering.
- In the vegetative state, the plant channels all energies to grow strong roots, branches, and leaves.
- Switch nutrients as your plant transitions from a vegetative to a flowering stage, increasing the levels of phosphorus and potassium and decreasing nitrogen.
- Pay close attention to the color of the trichomes and pistils to determine when the optimal time to harvest is.
A Complete Guide to the Cannabis Flowering Stage - The Plant’s Life Cycle
Before a cannabis plant starts to flower, a great deal of work happens behind the scenes! Let’s take a look at what happens when you turn a cannabis seed into the splendid, flavorful buds that we all know and love.
Before the Flowering Stage
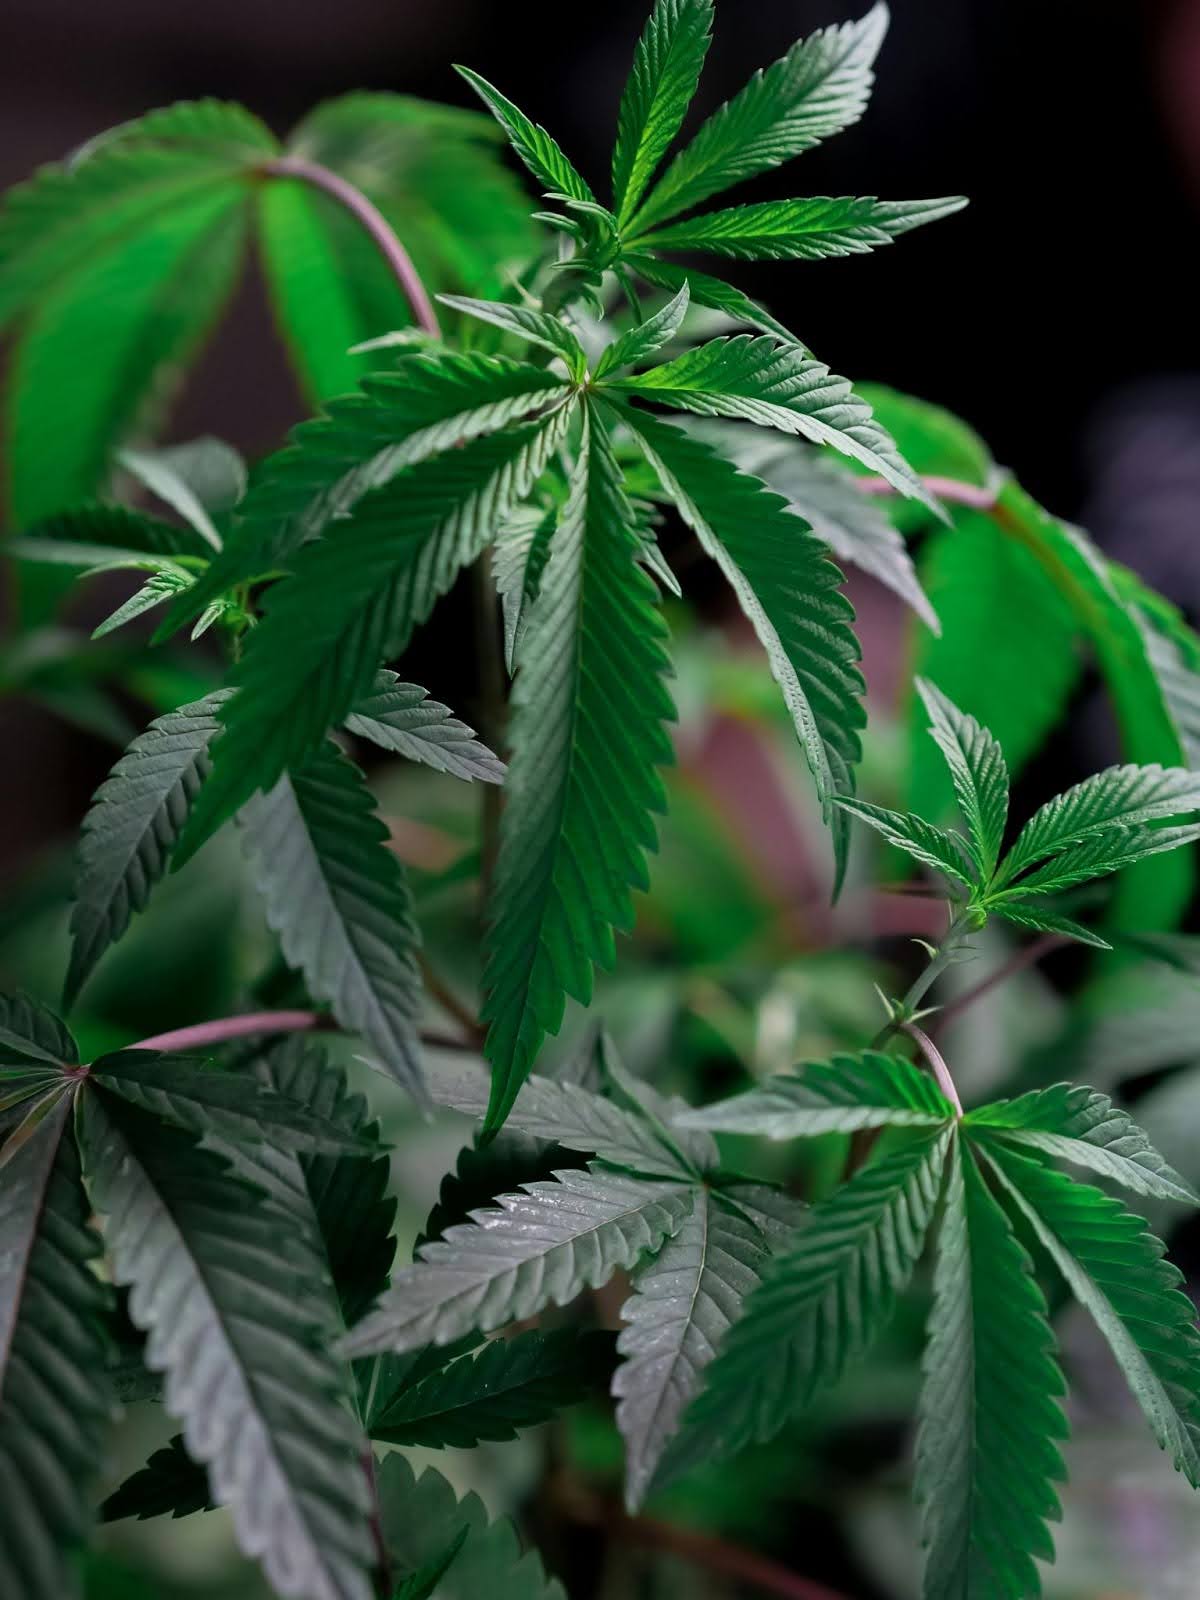
It all starts with a process called germination, which is when a seed turns into a seedling. This can be exciting to new growers as they first see the signs of what’s to come.
If you are growing outdoors, germination typically happens in a greenhouse or another controlled environment to protect the vulnerable plants from bugs, animals, and harsh environmental conditions during the seedling stage.
The Vegetative State
The seedlings will then enter a vegetative state, which is when they start to grow rapidly to develop a strong root system, branches, and leaves. Think about it as the plant’s adolescence!
At the end of the vegetative state comes the flowering stage, which is when the plant starts to produce buds. The fastest flowering plants will typically take 6 weeks but 8 to 10 is more common. It can fluctuate depending on the plant’s genetics, environmental factors, and if growing techniques were used.
Switching from Vegetative Stage to Flowering Stage
Plants growing outdoors will naturally switch to the flowering stage when there’s about 12 hours of darkness a day. Indoor plants can be switched by limiting the amount of light available to 12 hours a day to simulate fall.
The optimal conditions for growth are temperatures of 70 to 85°F during the day and 60 to 70°F at night, with 40 to 60% humidity. If your humidity is too high, you risk getting mold and mildew, but if it is too low, the conditions might be unsuitable for your plant to flourish.
In addition, the plant’s nutrition requirements also change, as flowering plants need more phosphorus and potassium but lower nitrogen levels compared to those in a vegetative state.
The flowering stage is when the plant directs its energy to growing buds instead of leaves and branches. Outdoor plants switch naturally with season changes and indoor plants are easier to manipulate as you can simply control the amount of darkness your plants get.
Flowering Stage - Week by Week of Cannabis Growth
Let’s take a look at what you can expect every week from your beloved cannabis plant.
Week 1 and Week 2 - First Signs of the Flowering Stage
Cannabis plants need darkness to start to flower, and this typically happens during late summer to fall when hours of daylight decrease. Flowering typically starts in outdoor plants when there are about 12 hours of daylight and 12 hours of darkness.
The first signs of the flowering stage is the appearance of pistils, which is the female reproductive part of the flower.
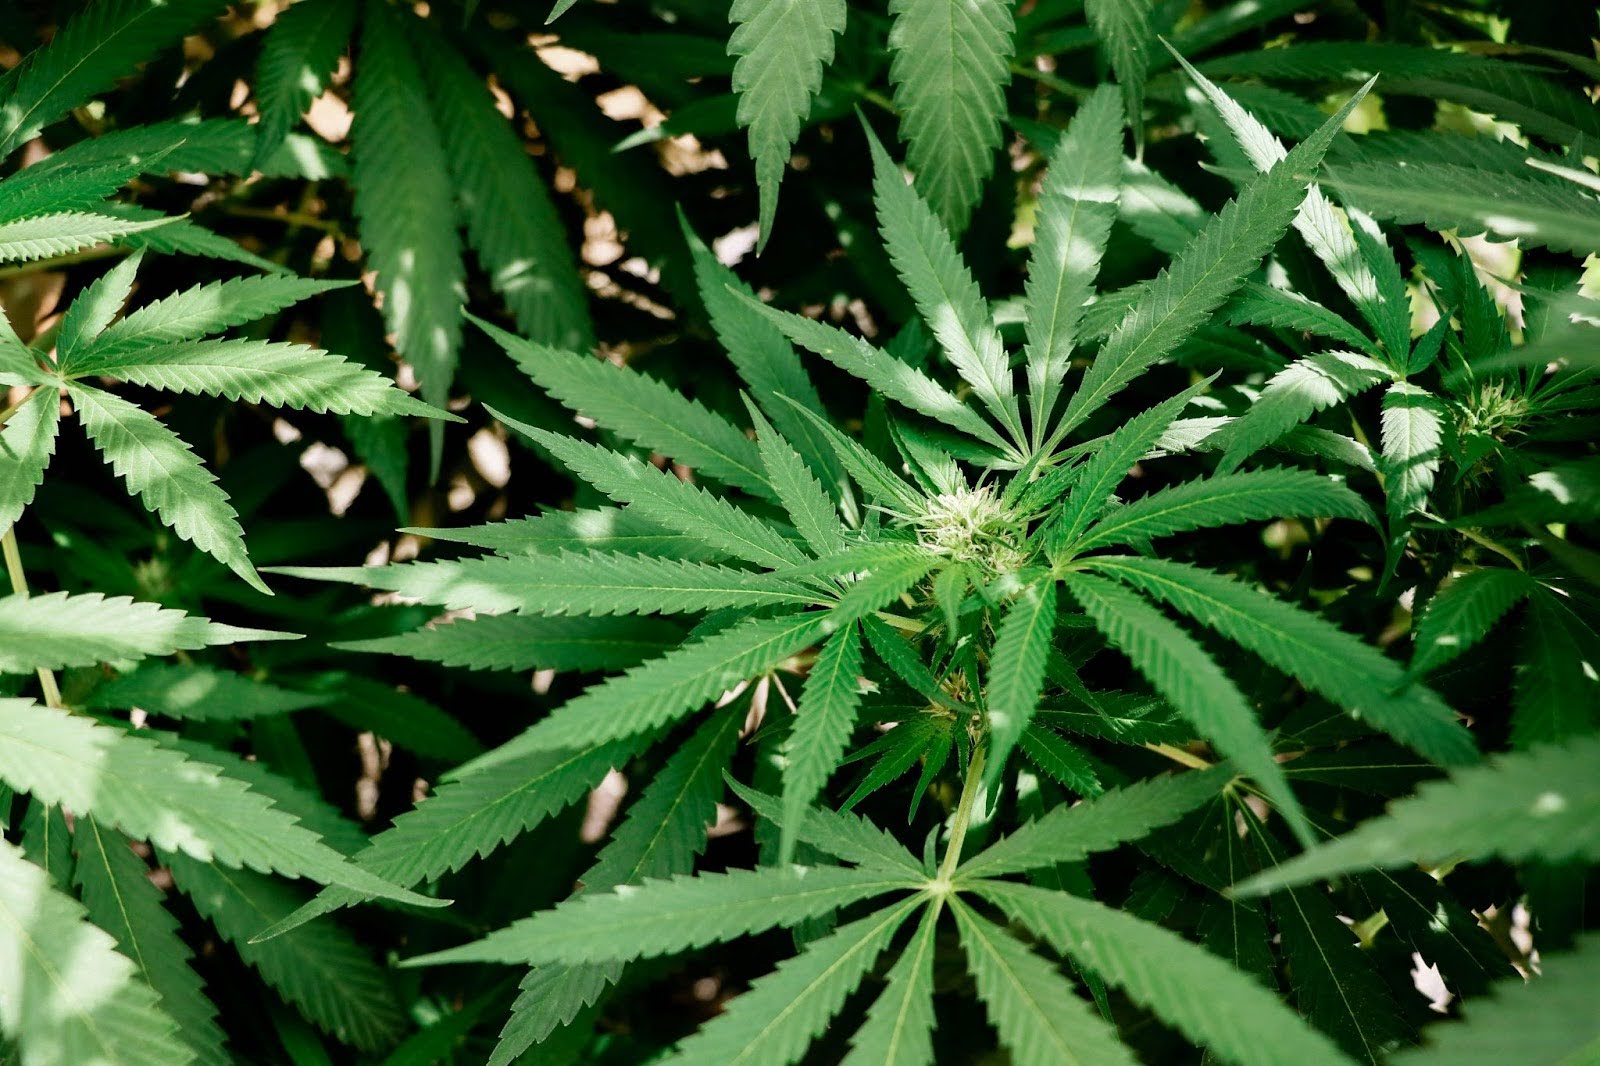
In male plants, there will be small green sacs instead. Male plants need to be removed immediately or they might pollinate females which would develop seeds, affecting the yield and potency of the buds.
Pistils are little hair-like structures typically emerging white but can also be yellow, or orange. They will change color in the coming weeks.
When your plant starts to flower, you’ll need to adjust nutrients and restrict the light schedule to 12 hours.
|
Indicators |
Care Tips |
|
When daylight hours are 12 hours or more |
Change nutrients - increase phosphorus and potassium, decrease nitrogen |
|
The appearance of flowers at the nodes |
Control light schedules and temperature Maintain humidity of 50 to 60% for optimal resin production |
|
Plant has a large growth spurt, sometimes gaining 20% or more in height, producing many more leaves. |
|
Weeks 1 and 2 Flowering Checklist
- Look for signs of pistils or pollen sacs and immediately remove male plants.
- Increase phosphorus and potassium in the nutrient mix.
- Decrease nitrogen in nutrients.
- Maintain temperature of 68 to 77°F
- Maintain a humidity level between 50 to 60%
- Ensure the light schedule is 12 hours of darkness and 12 hours of daylight.
- Watch for rapid growth (stretch phase).
- Monitor plant and soil for pH imbalances or nutrient deficiencies.
- Prepare for increased scent from trichomes by checking air filtration systems.
Week 3 and Week 4
By now, small buds would have formed, and the plant will have an increased aroma from the terpenes and resin. The buds might also become sticky as the trichomes start to produce resin.
At this stage, continue monitoring the plant’s development and controlling the levels of nutrients, light, and humidity. Also, pay close attention to any development of mold and mildew.
Weeks 3 and 4 Flowering Checklist
- Implement and monitor your air filtration system if needed to manage increased scent from developing trichomes. Use fans to maintain proper air circulation.
- Constantly check the humidity and temperature levels and look for mold and mildew.
- Look for signs of nutrient deficiencies such as nutrient burn or droopy, sickly leaves.
- Maintain water levels and ensure the pH of the water and nutrient solution is between 6.0 and 7.0 for soil grows and 5.5 to 6.5 for hydroponic systems.
- Prune the plant lightly to remove fan leaves and branches to improve air circulation and let more light through.
Week 5 and Week 6
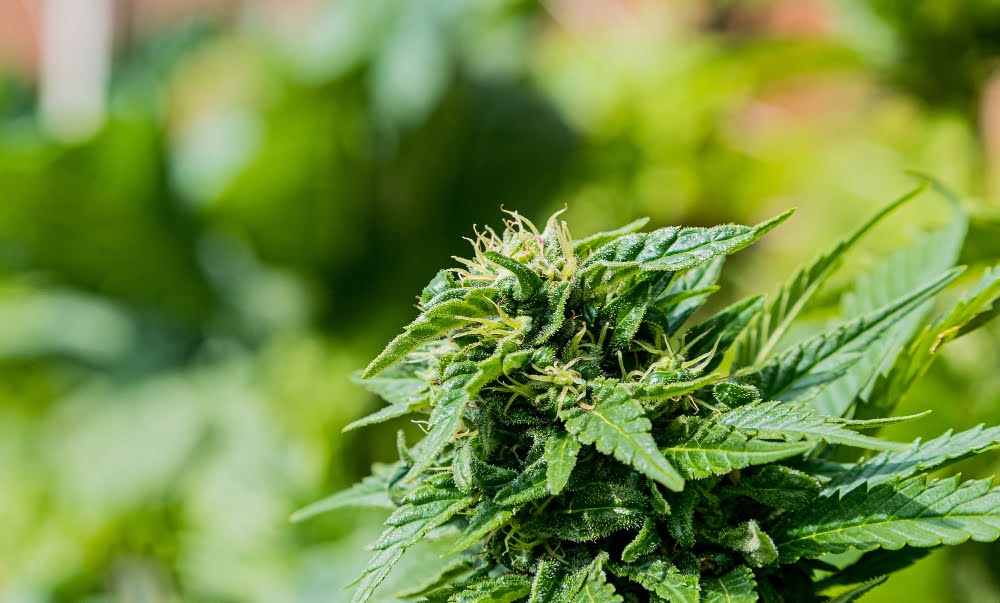
The bud production of the plant is reaching its peak and dense, strong-smelling buds loaded with trichomes are everywhere.
|
Week 3 to 6 |
Care Tips |
|
Appearance of terpenes and resin. |
Maintain temperature and light Change humidity to 30 to 40% to prevent mold and mildew |
|
The distinctive smell of cannabis gets stronger |
Checking closely for mold and mildew |
|
Buds become sticky as trichomes produce resin |
Consider installing supports to help plants with dense, heavy buds |
Weeks 5 and 6 Flowering Checklist
- Support the developing buds with trellis and stakes if necessary.
- Continue to check for pests such as spider mites, aphids, or whiteflies. Use organic pest control methods only.
- Use fans to maintain proper air circulation.
- Maintain light schedules and temperature levels.
- Change humidity to 30 to 40% to help prevent mold and mildew.
Weeks 7 and up
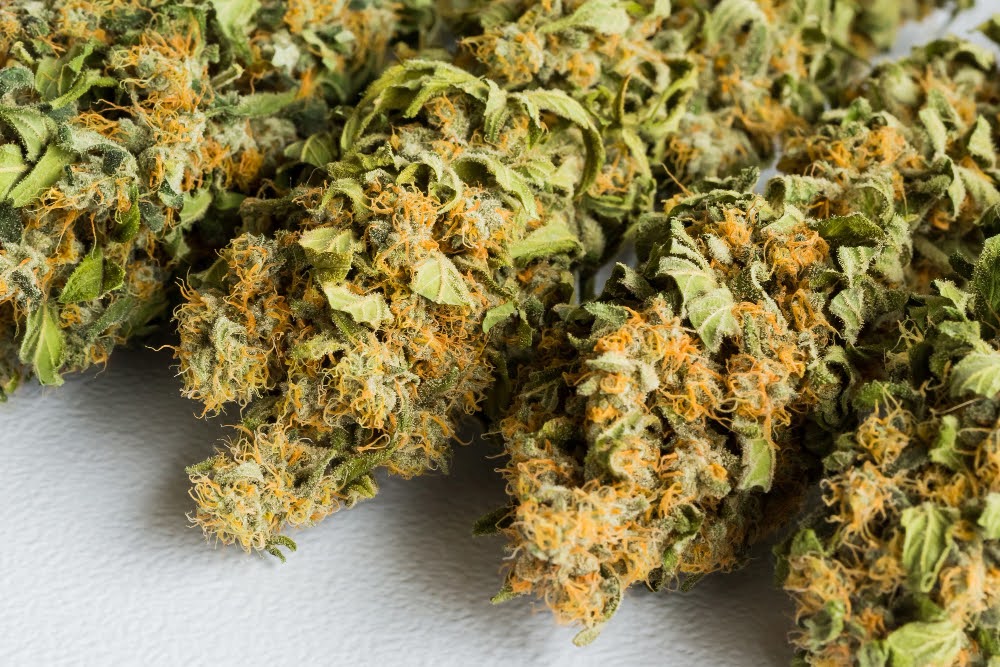
The time to harvest the fruits of your labor is almost here! Keep a close eye on your plant and look for signs that your buds are ripening.
A common sign is when the pistils turn from white to brownish-orange, which gives a strong indication that it is almost harvest time!
Another sign is when the trichomes turn from transparent to milky, then opaque, and finally amber. While having some brown or amber trichomes is okay, don’t wait too long, as this means that the THC or CBD content is reduced.
The ideal time to harvest the plant is when about half of the trichomes are opaque.
|
Signs That a Plant is Ready For Harvest |
Tips |
|
Buds are dense and heavy |
Support with bamboo frames, stakes, or trellis |
|
Pistils turn from white to brownish-orange |
Maintain humidity at 30 to 40% |
|
Trichomes turn from clear to opaque, then brown. |
Don’t wait too long to harvest or the trichomes might fall off. The ideal time is when half of the trichomes are opaque. |
Checklist for Final Weeks of the Flowering Phase
- Support dense, heavy buds with bamboo stakes or tomato cages.
- Monitor trichomes to make sure they are clear or less than half opaque.
- Inspect pistils to see if they are turning from white to brownish-orange.
- Some growers choose to flush the soil by using only water to remove excess nutrients, but research is somewhat controversial on this practice.
- Maintain humidity at 30 to 40%
- Prep your harvest equipment such as pruning shears, drying racks, and storage containers.
Final Thoughts on the Stages of Cannabis Flowering
Isn’t the cannabis plant a fascinating one? We think so! If you’d like to learn more about home cultivation, visit us at HomeGrownCannabis.com. We are devoted cannabis aficionados who love sharing our favorite grow tips with our readers!
Read more of our guides or browse some of our bestselling cannabis seeds and you’ll be well underway to growing (and enjoying) your very own bud!


