Grow Your Own - Cannabis Blog
April 13, 2021 • 01:38 PM ET
Learn how to grow cannabis outdoors step by step with Nikki & Swami. Easy instructions. Amazing tips. For growers of all ability, gardens big and small.
Read More
Channels


Posted in:
Cannabis Cultivation
May 18, 2026 • 01:49 PM ET
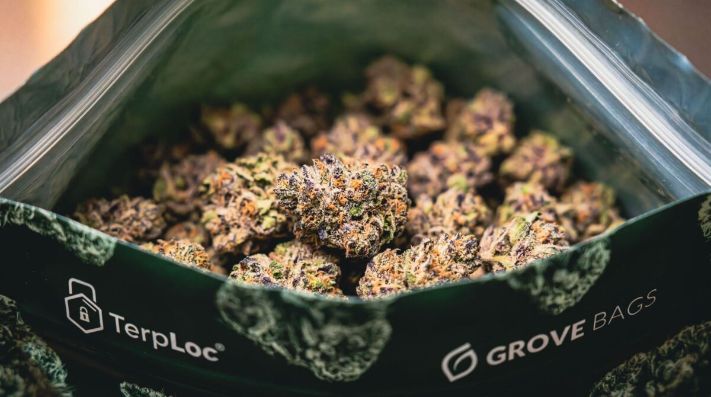
Most growers know how to cure weed, fewer know why it works. The science behind atmospheric control, why jars and mylar fall short, and what auto-curing actually does.
Read More
April 16, 2026 • 05:15 AM ET
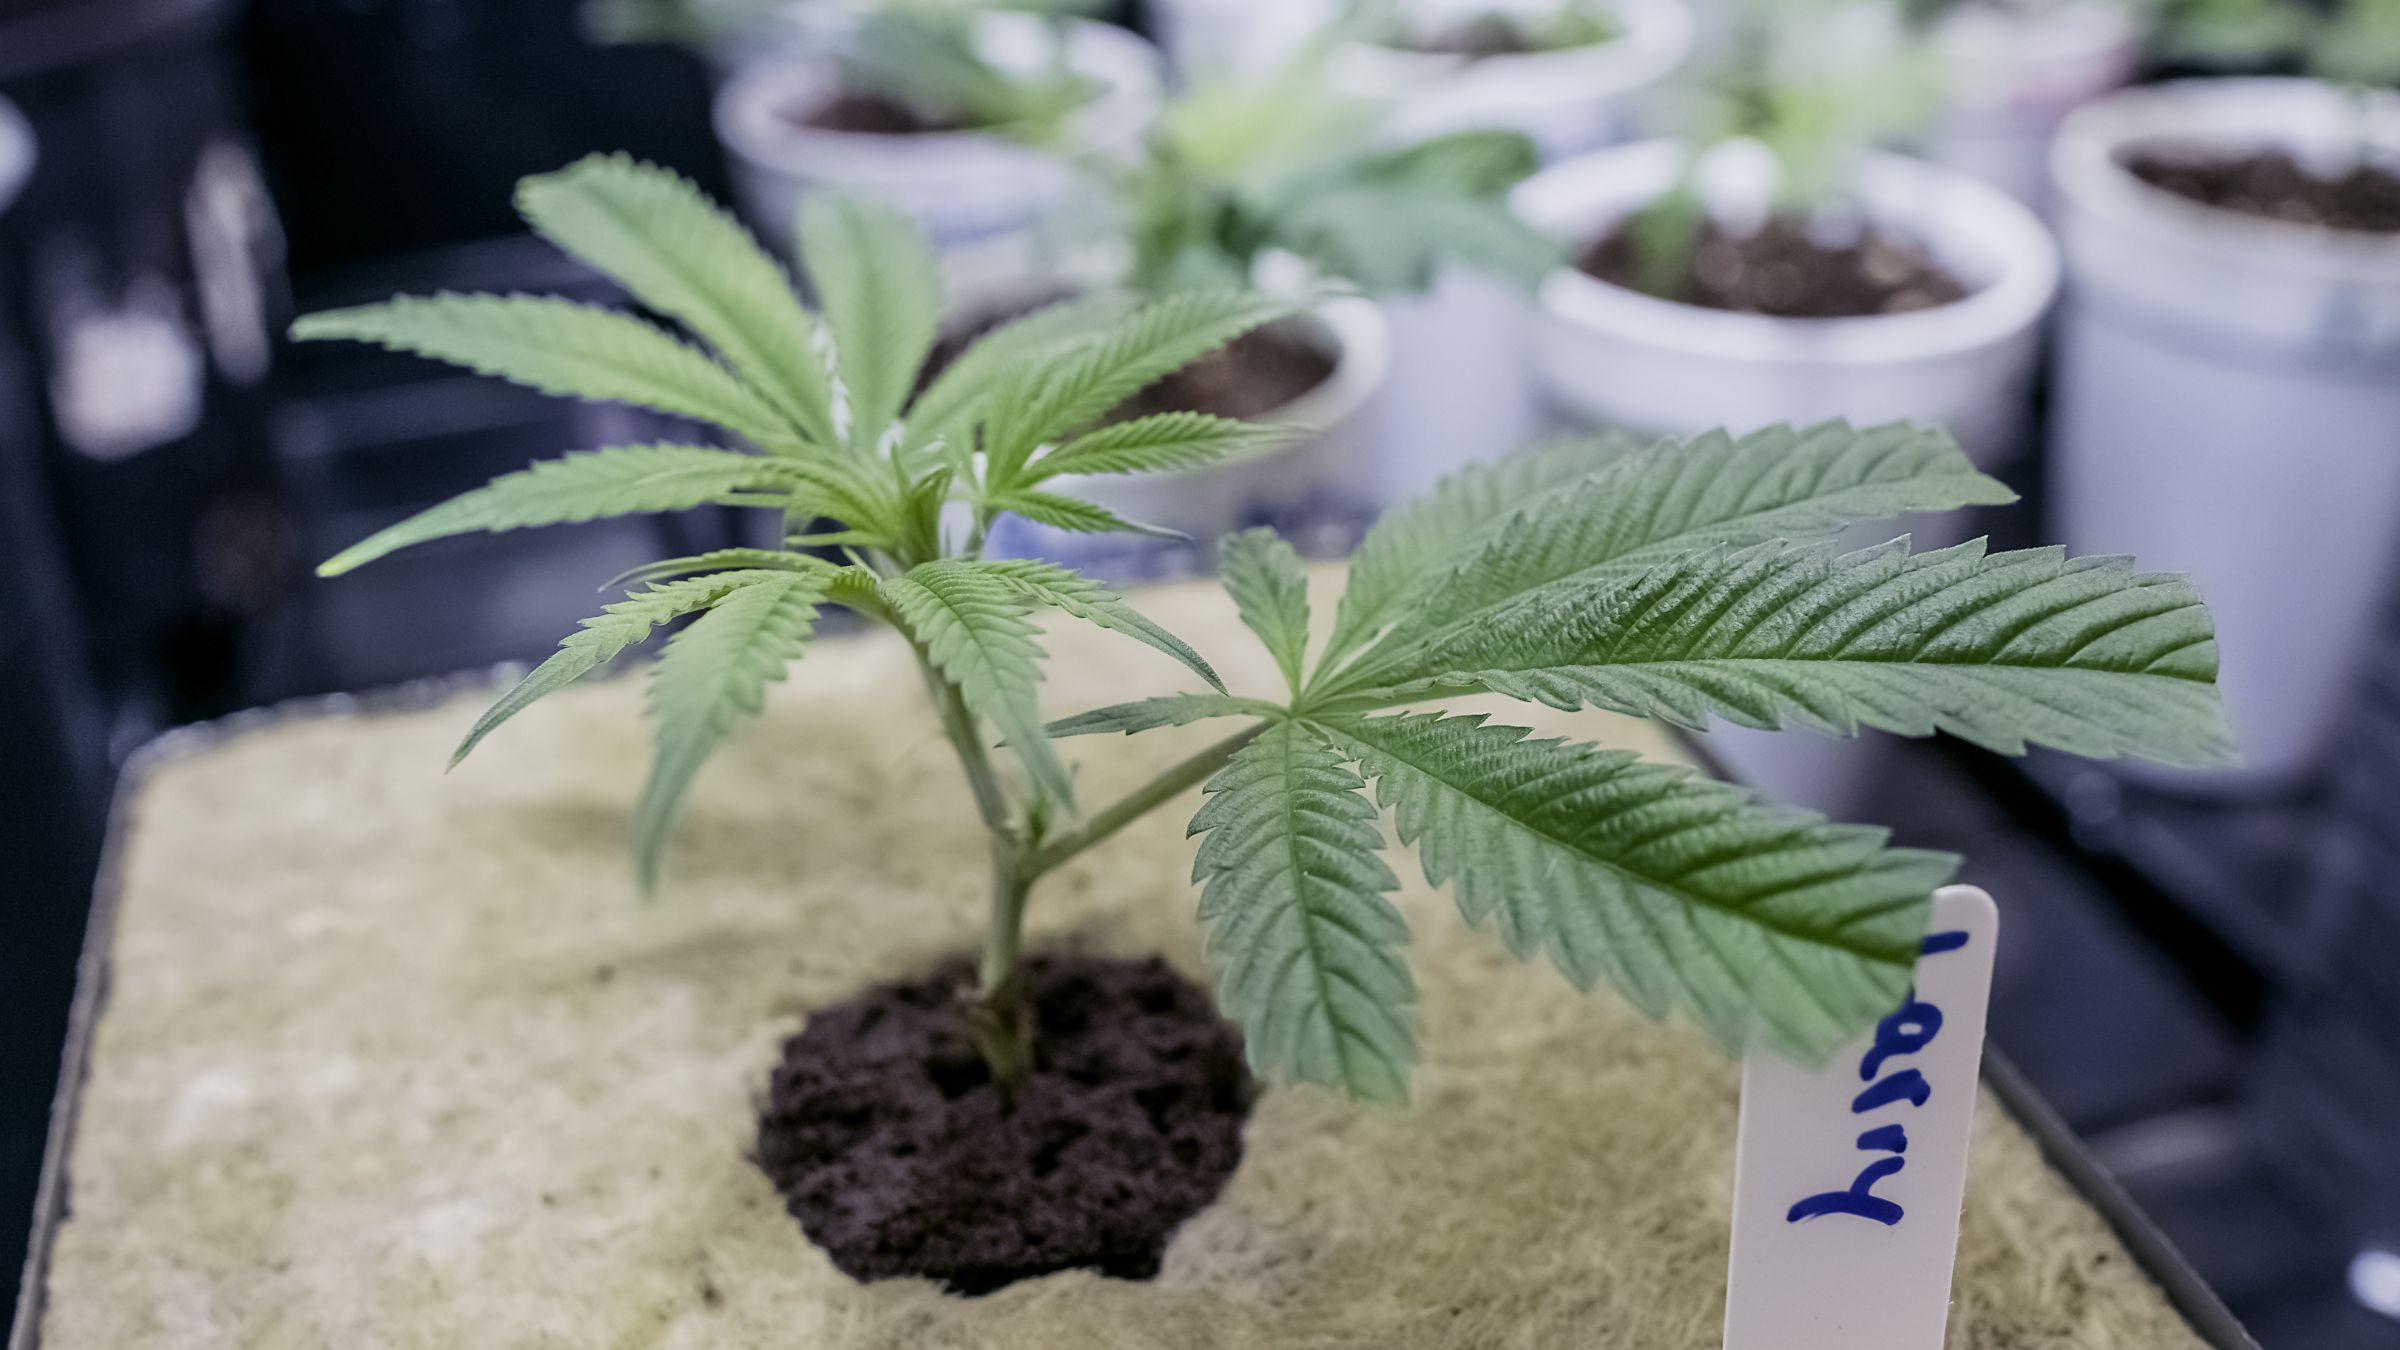
Learn how to care for cannabis clones step by step. Covers watering, light, humidity, transplanting, and troubleshooting for healthy, fast-growing plants
Read More

Posted in:
Cannabis Cultivation
April 13, 2026 • 12:56 PM ET
Watch Parker Curtis smoke test and review Hindu Kush, a classic landrace indica from Homegrown Cannabis Co. Effects, flavor, aroma, growing tips and THC content covered.
Read More

April 13, 2026 • 12:27 PM ET
Parker Curtis reviews Sour Diesel, one of the most iconic sativa strains. Experience the pungent fuel aroma, energizing effects, and learn growing tips in this comprehensive smoke test.
Read More
GROW GUIDES
View All

July 3, 2024 • 02:40 PM ET
This article explores the best cannabis strains to grow in the Northeast. We’ve detailed top strains, optimal growing conditions, and expert tips for a successful harvest in the Northeast climate.
Read More

July 2, 2024 • 01:28 PM ET
These are the 10 best cannabis strains to grow in Minnesota. We’ve detailed top strains, optimal growing conditions, and expert tips for a successful harvest in Minnesota's climate. Discover your best options now!
Read More

June 28, 2024 • 08:30 PM ET
This article explores the best cannabis strains to grow outdoors in Maine. We’ve detailed the top strains, ideal growing conditions, and expert tips for a successful harvest.
Read More

April 13, 2026 • 12:02 PM ET
Parker Curtis reviews Durban Poison, a legendary pure sativa landrace from South Africa. Discover this energizing strain's uplifting effects, sweet aroma, and growing characteristics.
Read More

April 13, 2026 • 10:05 AM ET
Follow Blue Dream from seed to smoke in this full-journey strain review from Homegrown Cannabis Co. See the grow, the harvest, and the final smoke test of this iconic hybrid.
Read More

April 13, 2026 • 09:15 AM ET
Parker Curtis reviews Purple Star Killer, a potent indica-dominant hybrid from Homegrown Cannabis Co. Discover the deep purple buds, relaxing effects, and growing tips.
Read More

April 13, 2026 • 06:09 AM ET
Parker Curtis reviews Candy Glue, a sweet and sticky hybrid from Homegrown Cannabis Co. Discover its candy-like flavor, balanced effects, and why it's a perfect home grow strain.
Read More

April 13, 2026 • 05:47 AM ET
Parker Curtis reviews Smelly Orange, a vibrant citrus-forward hybrid from Homegrown Cannabis Co. Experience the zesty orange aroma, uplifting effects, and growing tips.
Read More

April 13, 2026 • 05:24 AM ET
Parker Curtis reviews Grizzly Purple Kush, a powerful indica from Homegrown Cannabis Co. Discover the deep purple buds, earthy kush aroma, and heavy relaxing effects.
Read More